When I got a message that a new Synology package was out that would update WordPress to version 5.8.3-1060, I decided to update for security reasons. One thing that caught my eye was the following ‘important note’:
Starting from this version, WordPress no longer supports retaining or restoring package-related data after an uninstallation.
Important Note
I did not pay too much attention to this, as I wasn’t planning to uninstall my website. However…
After updating WordPress to 5.8.3-1060, my website was completely broken. I could not even login to the wp-admin page, so I was completely locked out of the WordPress console.
Luckily, I had made backups diligently, using UpdraftPlus, so I tried to uninstall WordPress, and restore the website by re-installing WordPress, then installing the UpdraftPlus plugin, to restore the latest backup. Alas, that did not work either.

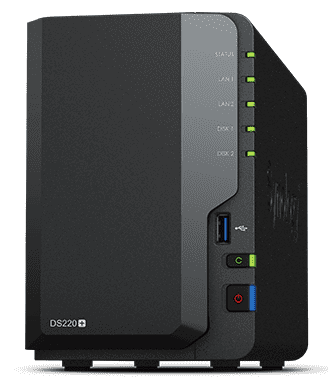
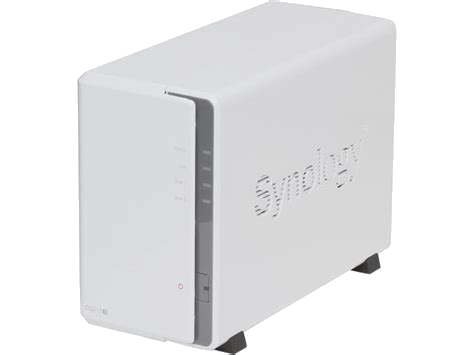
As my website was hosted on a (slow) DS213j NAS, this was also a very lengthy process. For that reason, I decided to instead host my website on a newer (and faster) DS220+.
Therefore I installed MariaDB 10, PHP7.4 and Apache HTTP Server 2.4 and Web Station, which are all required to run WordPress. I then installed the WordPress package, and immediately ran into problems.
The reason being, that I had forgotten that router ports 80 and 443 were still being forwarded to my ‘old’ NAS. That wasn’t so much of a problem when setting up the website, but it resulted in the Let’s Encrypt SSL certificate giving error messages, as the certificate was basically being pulled from the wrong NAS.
Therefore I forwarded ports 80 and 443 to the newer NAS, and removed the virtual host from the old NAS.
Now I surely was ready to install WordPress again. But would it all work this time? Should I use the Synology v5.8 package again, or should I try to install v6.0, directly from WordPress.org?
A very good instruction video to install WordPress V6.0 without using the Synology package is shown here. So I tried this and it brought up a new website, but I wasn’t able to use UpdraftPlus to recover my website content. Maybe there was a version conflict here ???
As I got fed up with tinkering with WordPress on a NAS, I looked into the possibility of hosting it using a virtual server on my PC.
Several solutions are offered for this purpose, discussed in-depth at this link. To name a few solutions: xampp, wamp, mamp, lamp, ampps & laragon. All these packages offer as a minimum local server access to Apache, MySQL and PHP. Take the Windows version, and you get the acronym WAMP.
After trying a few packages that did not install very well on my machine, I settled on WAMP. You need to make sure that all needed Visual Studio redistributable packages are installed upfront, but a very handy utility (check_vcredist.exe) is available for that purpose.
Then I downloaded a previous WordPress package (v5.7.2) from WordPress.org, that should be compatible with my backups, and copied this under the D:\wamp64\www folder.
So… I installed WordPress under WAMP, and then copied all UpdraftPlus backup files under the wp_content folder. The only thing left was to handle the database itself.
I created a new database using phpMyAdmin, and imported the content of my site’s database backup. The next step was to have two entries (siteurl and home) in the wp_options table point to the right address, and to replace the name of the database in the wp-config.php file.
/** The name of the database for WordPress */
define( 'DB_NAME', 'ds213j' );
By now, the main page of my website was accessible again. But all the posts and the pictures were all having the wrong (global) links, so these needed to be fixed.
I used the Better Find and Replace plugin for this purpose. The nice thing is that it allows you to do a dry run. So you see how many entries and which tables are being affected.

Now my site was fully up and running again – all be it locally! A moment of euphoria. At the same time, the WordPress console now offered the option to upgrade to V6.0, which I did, after first making a backup.
With my local website now running V6.0 of WordPress, I installed V6.0 also on my NAS, again using the guidance from Will on SpaceRex.
The next steps were copying all plugins and media under the wp_contents folder, import the local database and then to have wp_config.php point to the new database.
I then discovered that I could not (un)inststall any plugins as WordPress was asking for ftp credentials;
“To perform the requested action, WordPress needs to access your web server. Please enter your FTP credentials to proceed. If you do not remember your credentials, you should contact your web host.”
WordPress asking for FTP credentials
If you Google for this issue you’ll find various solutions. I was able to solve it by adding one line at the end of the wp-config.php file.
define('FS_METHOD', 'direct');The last step was using Better Find and Replace to have all other links pointing to the proper (global) url.
Now I’m running the latest version of WordPress on my DS220+, with the recommended versions of PHP and Apache, but what a journey – sigh 😔 …


